A STEP BY STEP GUIDE TO
ASSEMBLING YOUR OWN SPIN DISC
Construction and photographs
By Lenka (Lenwood)
Text and additional photographs by Paul Beard
The aim of this document is to help you create your own
chinchilla spin disc, using instructional photographs and text.
To try and make things as simple as possible, the main parts can
be purchased on line… we have included links for Amazon US, UK and CA, just click on the appropriate flag.
There are obviously other
suppliers of similar products, of an equally high standard, should
you prefer!
SHOPPING LIST
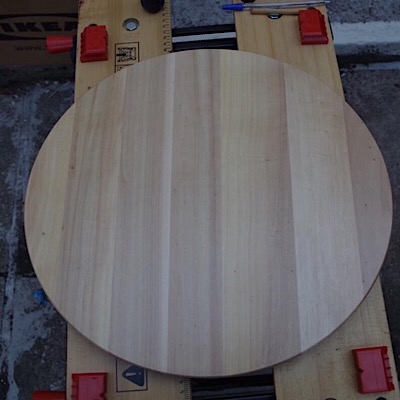
The first item on the shopping list is a Lazy Susan, the one we
have used is from Ikea, called Snudda 15in/39cm diameter
Costing £5.50 at the time of writing.
Alternatively, a disc can be cut from a piece of "chin safe" timber,
(such as poplar or untreated pine), using a jig saw, depending on
your D.I.Y. skills!


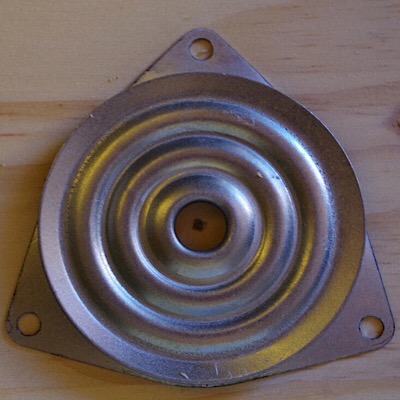
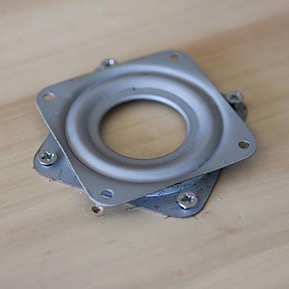
Second item to order, a 3in Lazy Susan bearing...
Additional Hardware Needed...
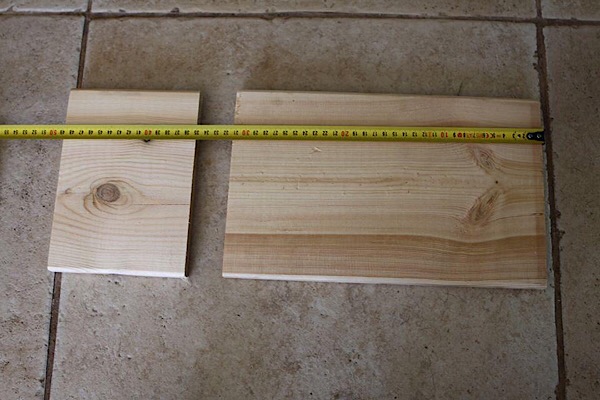
18in/45cm Long x 8in/20cm Wide Piece of Chin-Safe Wood
Cut into a 12in/30cm piece & a 6in/15cm piece

#8 1/2-inch screws, qty: 8
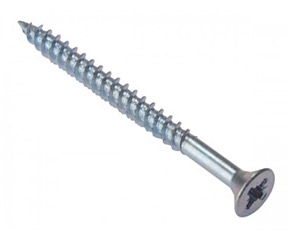
#8 2in screws, qty: 3
Tools needed...
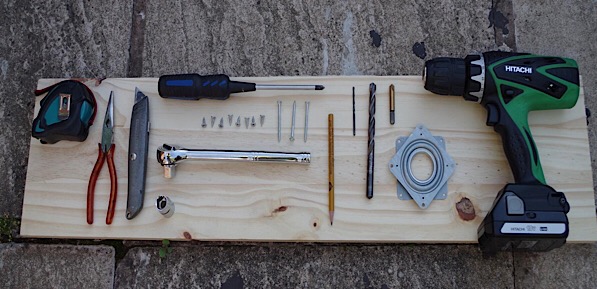
- Tape measure
- Pointed nose pliers or Socket wrench and socket
- Stanley knife or similar
- Long screwdriver, magnetic if possible
- Drill bit (For drilling pilot holes. Use a size smaller than the screw)
- A larger drill bit (Same size as the head of the 2 inch screw)
- Countersink bit
- Drill
- Pencil
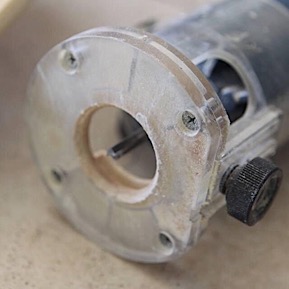
Step 1 - Replacing the Bearing
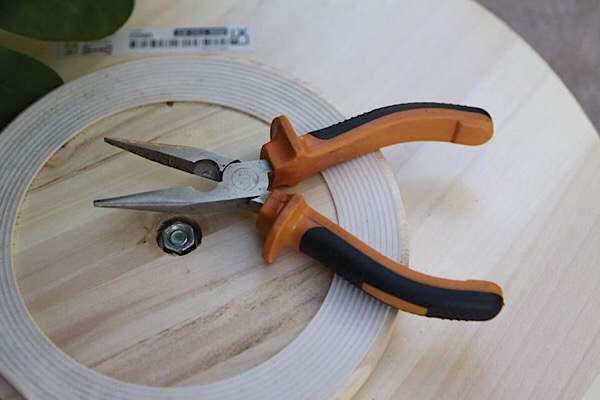
Begin the process by turning the disc upside down and removing
the locking nut. This can be done with a pair of pointed nose pliers, or by using a
socket and wrench. It may require expanding the hole slightly
with a cutting knife, to allow better access.
You will need to hold the disc still while undoing the nut,
otherwise the nut and bolt will just rotate together and not
unscrew! These parts will no longer be required once they have
been removed.
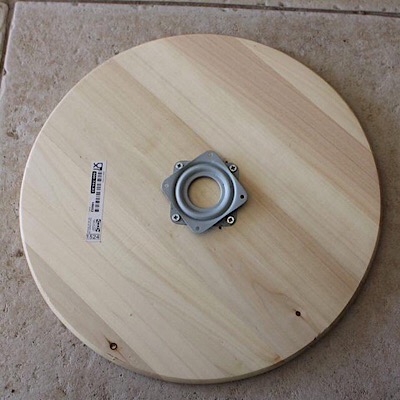
When the nut has been removed, the small wooden disc can also
be removed, to reveal the bearing.
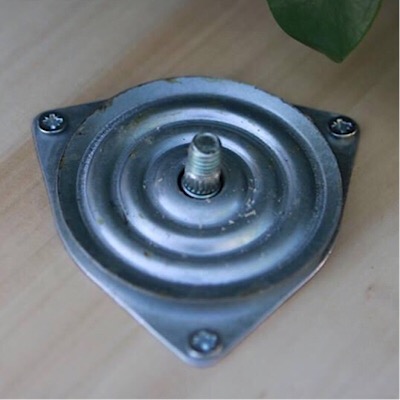
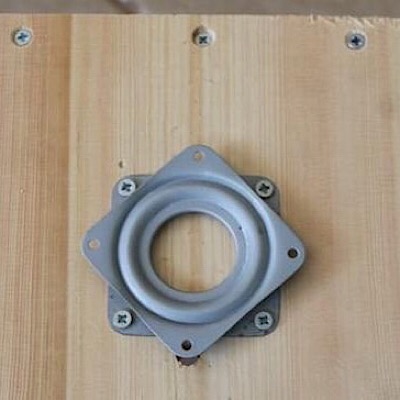
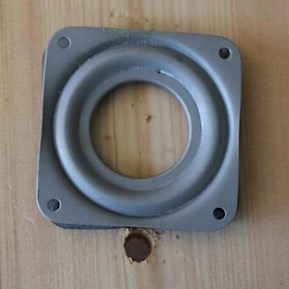
Undo the three screws and remove the bearing from the disc.
There may be a mark in the wood to indicate the centre point of
the bearing. If not, simply reposition the bearing over the existing
screw holes, and mark the centre point with a pencil.
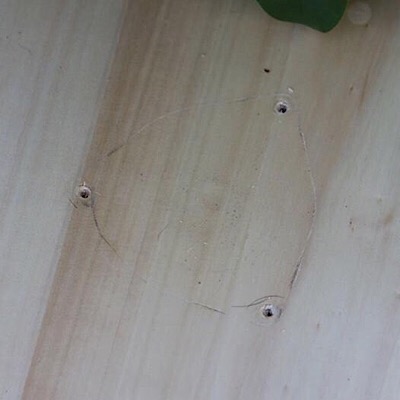
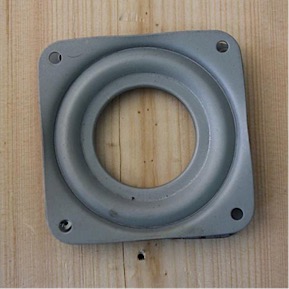
Place the new bearing in the centre of the disc, and screw into
position through the bottom plate. It is not necessary to tighten
the screws fully at this stage.
Then REMOVE the bearing again. This has created pilot holes for
the screws in order to re-attach the bearing to the disc, later in
the process.
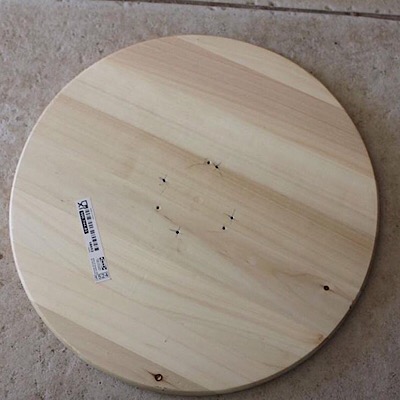
The disc and bearing can now be placed to one side, ready for
later!
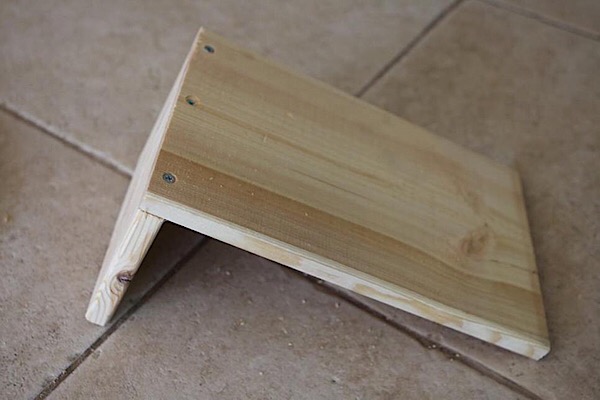
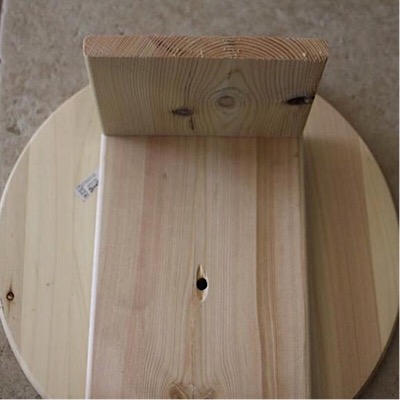
Step 2 - Building The Stand
Join the two boards together as in the following photo, using the three 2in
screws. It is recommended that you drill 3 small pilot holes first,
in order to prevent the wood splitting when screwing together.
Then countersink the holes for the head of the screw to sit in, this
will prevent the bearing catching on them later in the process.
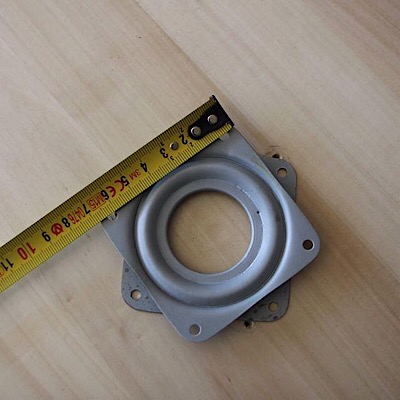
Attaching the Bearing
Measure the new bearing. In this case 7cm.
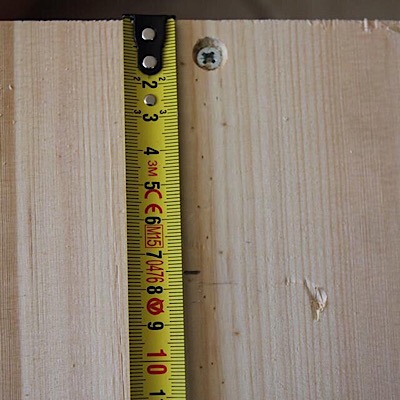
Measure 7.5 cm from the end of the long board and make a mark
in the CENTRE of the board.
Position the bearing centrally on the board with the edge of the
bearing against the mark.
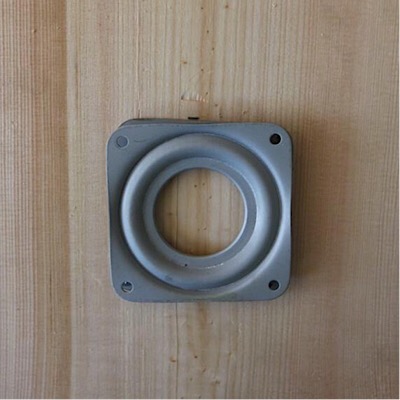
Then screw the bearing into position using the bottom plate.
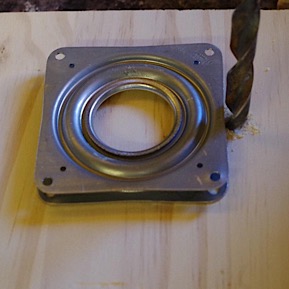
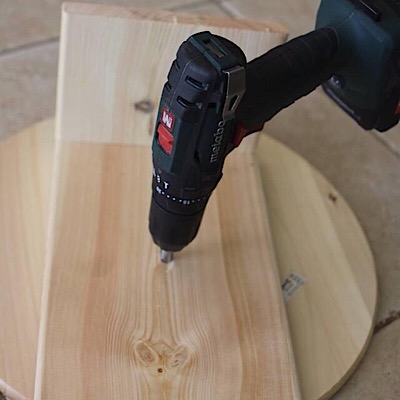
With the bearing rotated 45 degrees as in the previous picture,
use a small drill bit to make a pilot hole, through the bottom hole
of the bearing.
Drill a hole through the board using the pilot hole as your guide.
IMPORTANT - You will need to use a larger drill bit so that the
hole is big enough to fit a screw head through later.
Step 4 - Final Assembly
Place the disc face down on a flat surface. Then place the stand
on top of the disc with the bearing at the bottom.
Using the large hole in the middle of the board as a sighting hole,
rotate the hole until you can see the screw hole in the bearing
underneath. Then position the bearing over one of the four pilot
holes in the disc, that were made earlier in step 1.
Insert a screw through the bearing, into the pilot hole, via the
sighting hole, and fix the bearing to the disc.
For adjustment purposes, DO NOT fully tighten the screw at this
point.
Manoeuvre the bearing into position over the other three screw
holes using the sighting hole in the board.
Once in position, insert the next screw through the bearing into
the pilot hole and fix the bracket into place via the sighting hole.
Position the remaining two screws using the same method.
Return to the first screw and tighten as well.
Positioning the screws can be slightly fiddly, and a magnetic
screwdriver may help!
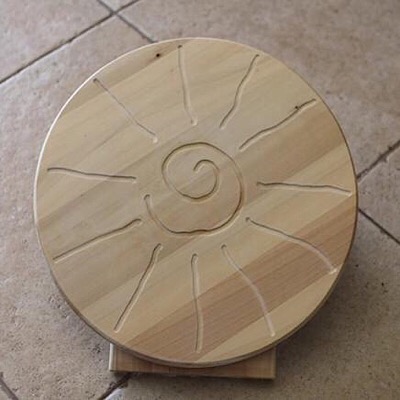
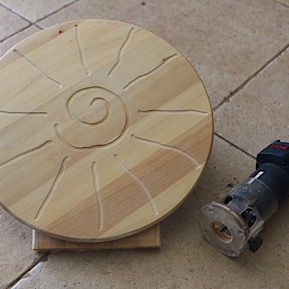
As the front of the spinner disc is smooth, it will be necessary to
create some grip for your chinchilla.
This can be done in several ways. Carving a design in the front is
one option, but will require some D.I.Y. skills!
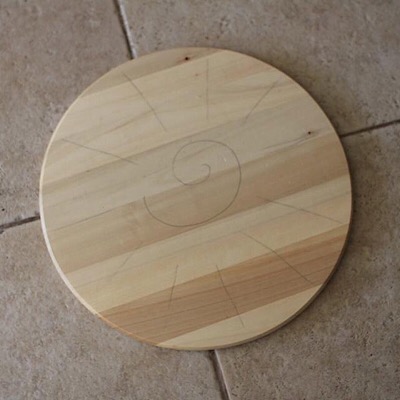
Take a pencil and draw your design on the front. Just remember
that some kind of star shape will be needed to create the running
"track".
A router will be needed to carve out the design. If you have not
used a router before, it is best to practice with a piece of scrap
wood first to get used to handling one!
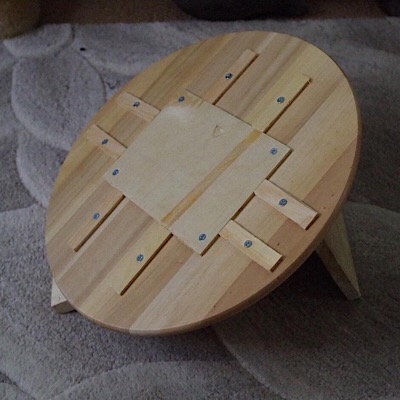
A simpler alternative is to screw a number of narrow wooden
strips to the front of the disc. This is very basic and obviously
does not look as professional as the previous method!
As before, the design is up to the individual. However, it will
perform the same function!
Watch it being used!
DIY Projects
|